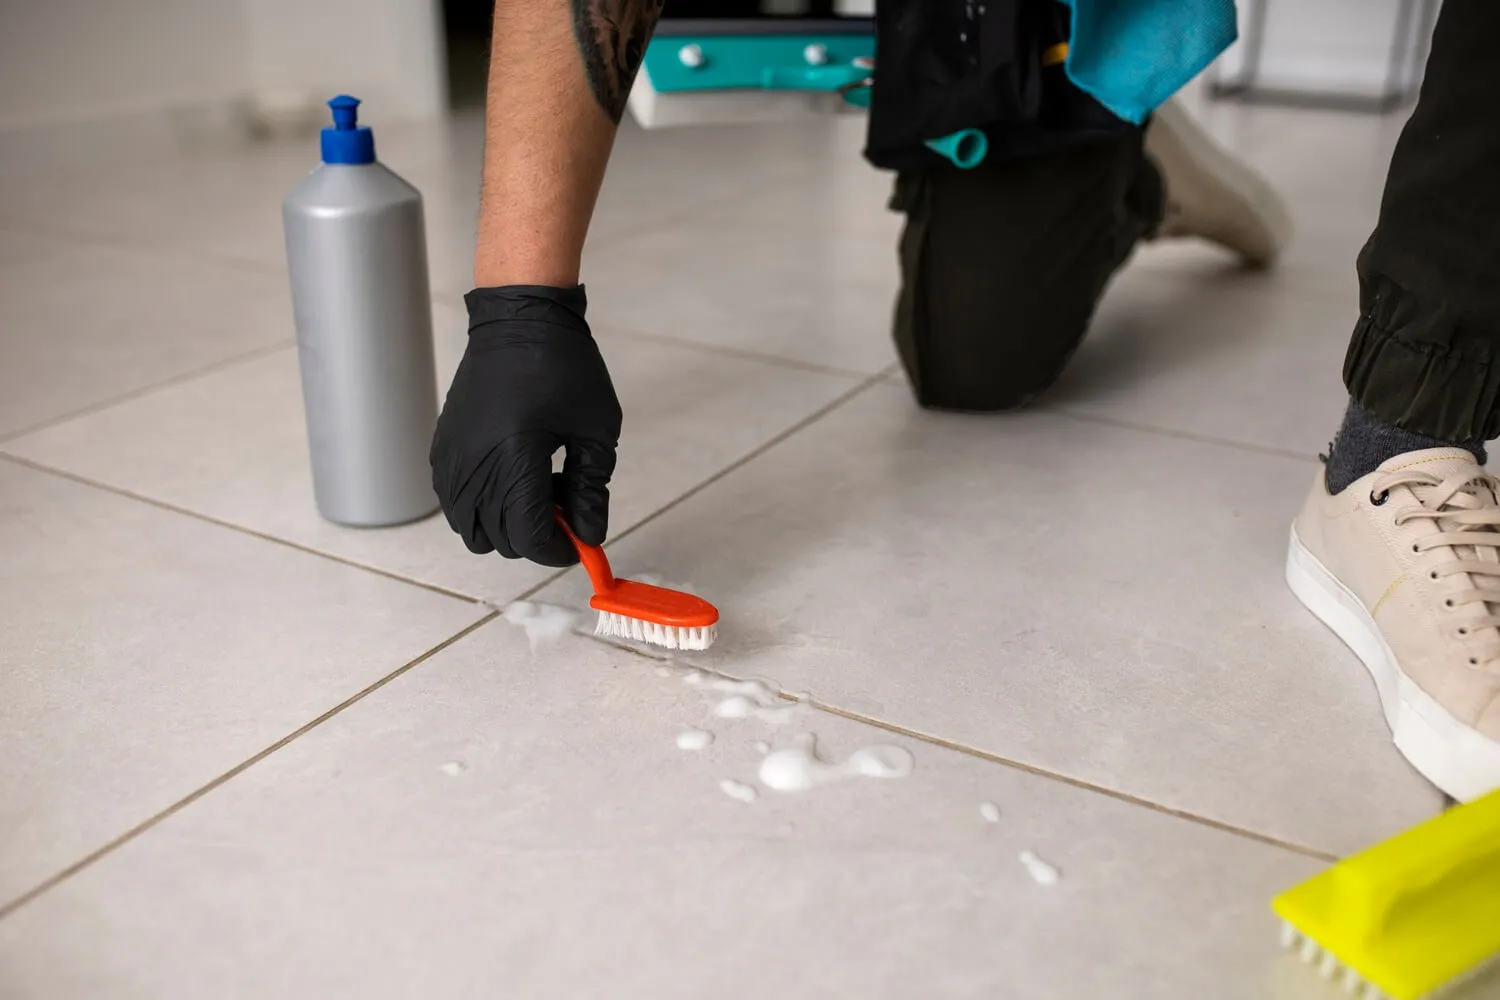
Grouting is an important step in any tile work, be it tiling for floors, bathroom tiles, kitchen tiles, wall tiles, or luxury tiles for your space. The grouting work on tiles for flooring not only adds to the tiles’ beauty but also ensures their proper durability and hence their longer lifespan.

The whole purpose of this guide is to guide on the procedure of grouting tile scales so that they really show a high level of craftsmanship.

Let’s learn the process step by step.

What is Tile Grouting?

Tile-Grouting.webp

What is Tile Grouting?

Tile grouting is the act of filling in the spaces between the tiles with grout. The grout is a cement-like material that will be filled in between the tiles or slabs set in place to strengthen tile work. There is a reason behind this process:

  • Sealing Gaps: Grout can act as a seal, preventing moisture or any other lost item from penetrating and causing damage.
  • Providing Stability: It helps tiles for flooring to cling and hold into place, which promotes the stability of the entire tiled area.
  • Enhancing Appearance: Grout enhances the appearance of a tile since it will be able to follow, match or contrast with your tile choice.

Tools and Materials That You Will Need

Tools-and-Materials-for-Tile-Grouting.webp

Tools and Materials That You Will Need

  • Tiles: The type of tile selected from the best tiles for your home or your particular project.
  • Grout: The applicable grout type according to the tile and joint sizes.
  • Tile Spacers: Used to keep the grill spacing on the tile even while you proceed to adjust it.
  • Grout Float: It is a rubberized tool that is used to push the grout into the joints.
  • Sponge: To clean out all the excess grout liquid on the surfaces of the tiles.
  • Grout Sealer: A sealant applied over the gout to ensure it is waterproof and stainproof.
  • Bucket and Mixing Tool: This would serve in mixing the grouts if the product ranges from mini tile sticks to a standard bucket and lid.
  • Protective Gear: Protect your hands, eyes with gloves and safety glasses.

Step-by-Step Guide to Grouting Tiles

1. Preparation

A-person-cleaning-the-tiles-for-grouting

1. Preparation

  • Cleaning of the Tiles: Make sure all tiles are firmly placed in position and the adhesive is properly cured. Clean the tile surface and joints to remove any dust, debris, or adhesive residue.
  • Check for Proper Spacing: Test whether the tile spacers were used to keep the joint width the same during the installation. Remove the spacers before grouting.

2. Mixing the Grout

Mixing-the-Grout-in-a-Bucket.webp

2. Mixing the Grout

  • Read the Instructions: Read what the manufacturer has given on their grout packaging for mixing ratios.
  • Getting the Right Consistency: Mix until it’s like smooth peanut butter but take care not to over-water it, as it will weaken the grout and create colour inconsistence.

3. Applying the Grout

A-person-using-a-grout-float-to-fill-grout-into-tile-joints

3. Applying the Grout

  • Use of Grout Float: With the same mix, let it dangle down the notch of the trowel as it drops off. With that in mind grab a grout float, hold it at a 45-degree angle and force the grout into the joints, pushing across the diagonal of the tiles to fill it as evenly as possible.
  • Work in Sections: The grouting as well as the cleaning of the excess should be done in portions about 3×3 feet just to make sure the grout doesn’t dry out before you get a chance to clean the excess of it all.

4. Getting Rid of the Excessive Grout

A-person-gently-cleaning-tiles-with-a-damp-sponge.webp

4. Getting Rid of the Excessive Grout

  • Initial Cleaning: After grouting a section, wait for 10-15 minutes so that the grout sets and then clean off the excess grout gently with a damp sponge, often rinsing the sponge. But don’t drag grout out of the joints.
  • Final Cleaning: Once the grout has cured slightly, buff the tiles with a dry cloth after a few hours.

5. Sealing the Grout

Applying-grout-sealer-with-a-small-applicator-bottle-and-brush

5. Sealing the Grout

  • Allow to Cure: Allow the grout solution to completely dry for the number of hours recommended by the manufacturer-often 24 hours to 72 hours.
  • Apply Grout Sealer: Put a little sealant on an applicator bottle or brush and then spread it on all the joints. The sealant will be easy to remove. Wipe off any excess sealant from the tiles to avoid staining.

Common Mistakes to Avoid

  1. Over-Watering Grout
  2. Not Sealing the Grout
  3. Inconsistent Application
  4. Cleaning Too Early or Too Late

For More Read: How to Clean Outdoor Tiles?

Conclusion

Fill in gaps with the grout layer. It is the final step in the tiling project that makes it both useful and beautiful. If you follow the correct method and avoid common mistakes, you can have an impression of being a specialist when it finishes.

If you are ready to execute a project with tiles or need some guidance from a professional. And, to get the perfect tiles for flooring, visit our store because Milestone Tiles Hub has it all. Transform your areas easily with your best tiles for home and think about what it would look like!

FAQs

How do I prepare tiles before grouting?

Clean the tile surface and ensure the adhesive has properly cured. Remove any dust, debris, or adhesive residue and check for even joint spacing.

How do I apply grout to the tiles?

Use a grout float at a 45-degree angle to push the grout into the joints. Work diagonally across the tiles and fill the gaps evenly.

What tools and materials do I need for grouting?

You’ll need tiles, grout, tile spacers, a grout float, sponge, grout sealer, a mixing tool, a bucket, and protective gear like gloves and safety glasses.

Why is sealing grout necessary?

By sealing the grout, a surface becomes totally waterproof, preventing stains and raising its durability of the tiled appearance.

Book Consultation

Share your requirements and our experts will get back to you shortly.

    Name *
    Email*
    Subject *
    Phone *
    Message

    Get a Quote

     Share your requirements and our team will get back to you with the best pricing.Â